That title is kind of a mouthful, but this saucy dish will have you stuffing your mouth until your plate is empty!
And even though there is a lot going into this, it all cooks in one big baking dish, making the timing of this meal as easy as can be.
Let's talk about nutrition for just a minute. Ever wonder what exactly you are getting from your food? Well, here is what you are getting from this food:
Spinach: Vitamin K, Vitamin A, Vitamin C, Iron, Fiber, Calcium, and Antioxidants such as Lutein and Beta-Carotene
Portabella: Potassium, Niacin, Riboflavin, Selenium, Phosphorus and Zinc
Fingerling Potatoes: Potassium, Vitamin C, Iron, Protein and Fiber
Goat Cheese: Calcium, Protein and Iron
Oregano: Vitamin K, Vitamin A, Iron, Vitamin C, Folates, Manganese, and Antioxidants such as Carotene
Garlic: Manganese, Vitamin B6, Vitamin C, Sulfur-containing compounds such as Allicin
Onion: Vitamin C, Organosulfur compounds such as Allium, Chromium, Vitamin B and Antioxidants such as Quercetin
Olive Oil: Monounsaturated Fatty Acids, Antioxidants, Vitamin E
Balsamic: Iron and Calcium
Red Wine: Antioxidants such as Resveratrol
So basically what I'm getting at is, know what your food is doing for you, and be grateful! Thank you Mother Earth! Eat food as directly from the earth as possible for maximum benefits. There is so much fuss now of days about everything you eat being bad for your body. I'd just like to point out that food is still good for you! You just have to appreciate all of those things that grow out of the ground: Vegetables, Grains, Natural Starches, and Fruits.
And now I'll get on with it.
So ladies and gentlemen here it is!
Spinach and Goat Cheese Stuffed Portabellas with Roasted Fingerling Potatoes and Balsamic Red Wine Reduction
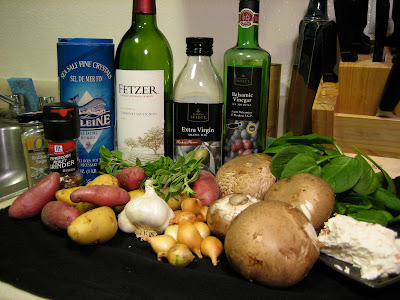
What you will need:
10+ Fingerling Potatoes
4 Medium Portabella Mushrooms
1 Bag Baby Spinach
4-6 cloves Garlic
10 Golden Pearl Onions
4 Tbs Goat Cheese
Olive Oil
Balsamic
Red Wine
Honey
Oregano
Sage
Salt
Pepper
Preheat your oven to 400˚ and take our your biggest pyrex and grease it up.
Lets get those cute little potatoes going! Give them a good scrub and dry them off. Chop them roughly into smallish pieces. If you like them a little thicker you might want to increase the cooking time. Dump the potatoes into the pyrex.

Smash the garlic cloves with the side of your knife so they fall out of their skins. Give them a rough chop and add it to the potatoes.
Now for the onions. I LOVE GOLDEN PEARL ONION! I just needed to get that out. They are sweet and kind of pop in your mouth like grapes. But, if you can't find them, any small onion or a yellow onion would do. Skin the onion and cut off the tips. Don't chop pearl onions! Add to the potatoes.
Take a few sprigs of fresh oregano, chop it up and add it to the mix. If you don't have fresh herbs you can go wild adding whatever dried herbs you've got.
Drizzle the potatoes with a generous amount of olive oil and mix them up so everything is coated. Sprinkle with salt and pepper.

Don't be fooled, spinach cooks down a lot! You will need a whole bag, trust me. I removed the stems but you don't really have to. Put the spinach in a large wok or frying pan, drizzle with balsamic, just a little, and add some salt. Turn to medium heat and toss it around until the spinach is wilted. About 1-2 minutes.
If you really want the spinach to stay green you can blanch it in cold water at this step but I didn't really care, I knew it would be covered in sauce anyway. Get out a plate and put some paper towels on it. Scoop the spinach onto the paper towel and let it drain. Set aside.
On to the Portabellas! Chop off the stems, we aren't going to use those. Scoop out the gills with a spoon and a little bit of the meat so there is a nice bowl shape in the mushroom cap. Keep the gills, we are going to use them to mix with the spinach later.
Place the potatoes in the oven at this point and let them get a head start while you finish off the mushrooms (about 5 minutes or so).
Now spread your favorite goat cheese into the mushroom caps. I used about 1-2 Tbs in each one.
Squeeze the extra juice out of the spinach so it's not soggy. Stir the spinach and mushroom gills together, and scoop it into the mushrooms. Pull the potatoes out of the oven and nestle the mushrooms into them.
This should cook for 20-25 minutes.


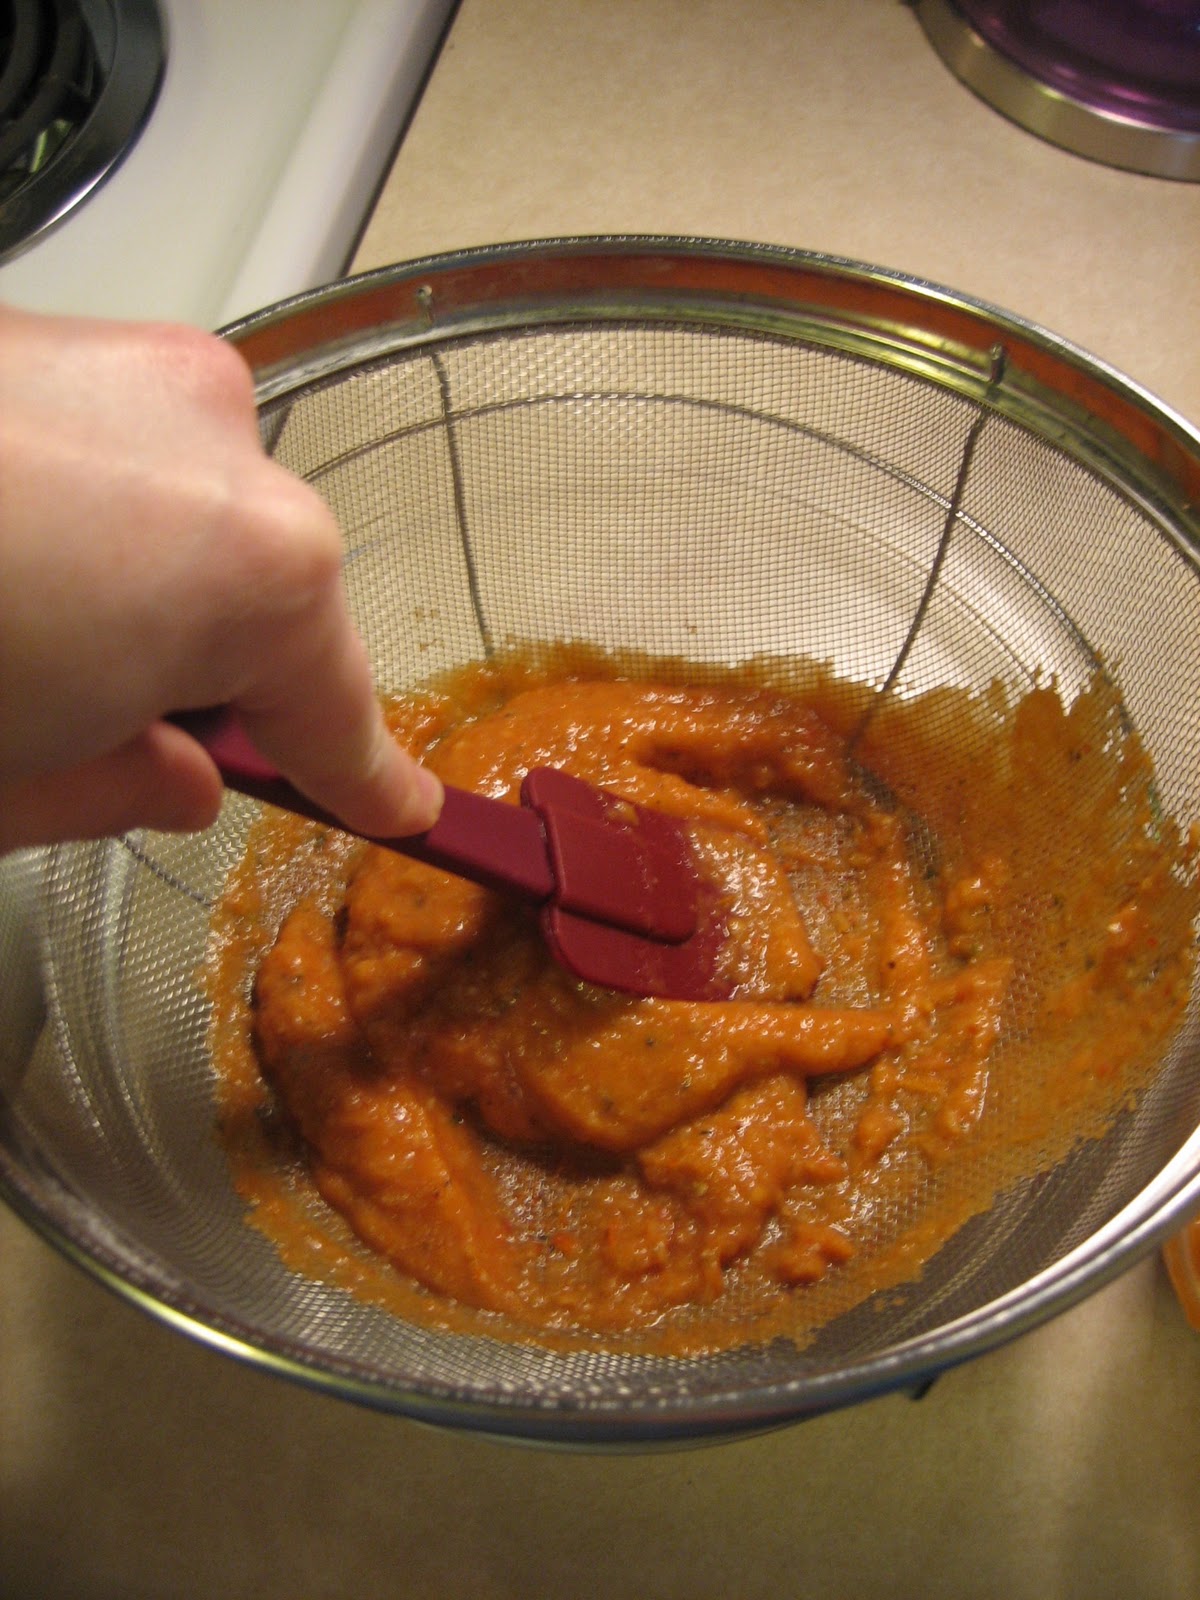
Once that's in the oven we are going to start the Balsamic Red Wine Reduction. Use the wok or frying pan that you used for the spinach earlier. Pour in about 1/4 cup balsamic and 1/4 cup red wine (I used a cabernet sauvignon). Add a little squeeze of honey. Turn to medium low heat and keep at a simmer until the potatoes and mushrooms are done. Swirl or stir every few minutes so it doesn't burn. The volume should reduce by about half, and it should thicken.

When the potatoes and mushrooms are done, pour the reduction over it, making sure you get all the mushrooms. Swirl the pyrex so the reduction spreads out over the bottom of the dish. Turn the oven to Broil and move a rack to the top of the oven. Place the dish on the rack and broil for 2-3 minutes so the potatoes get a little brown.
Plate up and enjoy! Be sure to pour some of that Balsamic Red Wine Reduction on top!


 Smash the garlic cloves with the side of your knife so they fall out of their skins. Give them a rough chop and add it to the potatoes.
 Don't be fooled, spinach cooks down a lot! You will need a whole bag, trust me. I removed the stems but you don't really have to. Put the spinach in a large wok or frying pan, drizzle with balsamic, just a little, and add some salt. Turn to medium heat and toss it around until the spinach is wilted. About 1-2 minutes.


 One of the things I really love about this dish is that you cook it all at the same time, in the same pan. There is very little timing things carefully to finish at certain times. Also, you can combine everything in a bowl ahead of time and put it in the fridge until you are ready to cook it. Perfect if you are making this for company and want to prep everything ahead of time. Once it is cooking you can kind of walk away from it too, just stir occasionally and add splashes of water every 10 minutes. How easy is that?
 What you will need:
 The golden pearl onions are one of my latest fascinations. If you were able to find them, you are in for a real treat! They are sweet and delicious with amazing pops of texture. If you can't find them, use any small onion or a chopped yellow onion. Peel the onions and add to the curry. Don't chop the pearl onions, you will love them whole, I promise!


 outwards to the edges.

